

With hundreds of bakeries springing up in every area, a baker needs to step up his game to stand out. Simply baking delicious treats won’t cut it anymore.
Aesthetics and looks are equally important as the flavor profile in cooking right now. Experimenting with popular flavors and integrating them into an attractive looking snack is the key to making it big in the baking world today. One of the biggest success stories among fusion baked goods is red velvet blossom cookies.
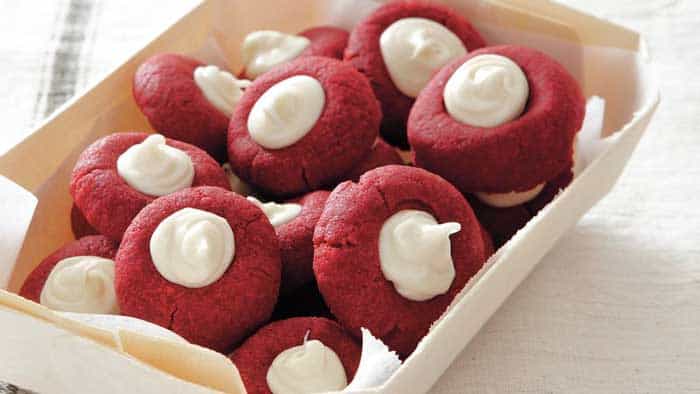
Mixing the richness of chocolate, the creaminess of red velvet into bite sizes makes it a very popular snack currently. A parody of the classic Christmas-themed Peanut Butter Blossoms, this is one holiday treat that is widely sought after everywhere since its inception in the 1940s.
Here’s our recipe on the heavily popular red velvet blossom cookies!
Time to Prepare: 45 minutes
Total Time to Bake: 3 hours 40 minutes (Approximately)
Cookies per Batch: 48
Ingredients
- 1 ¾ cups of universal flour
- 1/3 cups of pure cocoa
- 1 ½ tsp of baking powder
- ½ cups of softened butter
- ¾ cups of unprocessed brown sugar
- ½ of processed sugar
- ½ cup of salt
- 2 chicken eggs
- 2 tsp of vanilla flavor
- ½ tsp of gelatinous red food color
- Powdered sugar as much as necessary
- Dark chocolate-flavored candy kisses as personal preference
Procedure
The entire procedure is described below:
1. Create a Base
Start by adding the flour, cocoa, and baking powder in a medium-sized bowl. Begin whisking them together until they are mixed properly. The result should be a smooth thick mixture. Be sure to whisk it thoroughly; an imbalanced mixture will ruin the texture of the cookie.
2. Beating the Batter
Accumulate the softened butter, sugar, brown sugar, and salt into a big bowl. Then begin beating the mixture vigorously. Continue beating until the mixture becomes creamy and velvety.
Have the eggs, food coloring, and the vanilla extracts added to this mixture. Resume the beating process until the ingredients get perfectly merged into each other.
Finally, add the flour mixture as the final ingredient. Start beating again at a low pace till the flour is beautifully integrated into the mix. Cover the bowl up and pop them in the freezer.
Allow the mixture to stay in the refrigerator for a minimum of 2 hours. The dough must become firm through freezing; otherwise, there might be a chance of having a runny cake in the end.
3. Pre-Heating the Oven
Bring out the line sheets for the cookies alongside the parchment paper and set them aside. Pre-heat the oven to a crisp 350-degrees Fahrenheit. This must be done before the baking process starts.
Beginning the cooking process without having the stove warmed up will undoubtedly lead to the cookies getting ruined in a variety of ways. To ensure that the cookies are baked to perfection, the oven must be pre-heated.
4. Prepping and Baking the Cookies
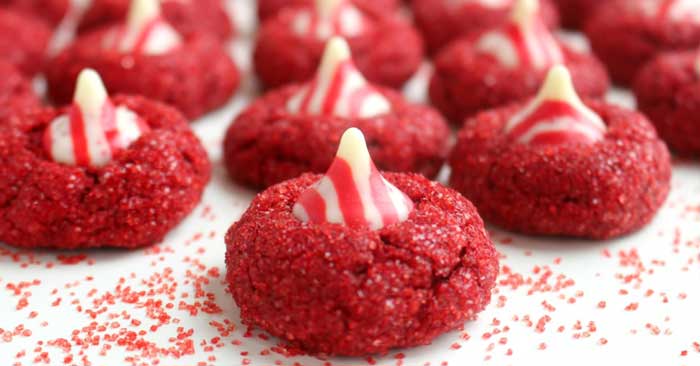
Begin shaping the dough into balls having a diameter of 1 inch. Once the balls have been made, roll them in powdered sugar until they are covered. Put the sugar-coated balls at least 2 inches away from each other on the laid-out cookie sheets. Pop them in the oven and let them bake.
The cookies need to bake for at least 9-10 minutes. An effective way of understanding if the cookies have appropriately baked is by observing if the cookies have set around the edges or not.
5. Letting Them Rest
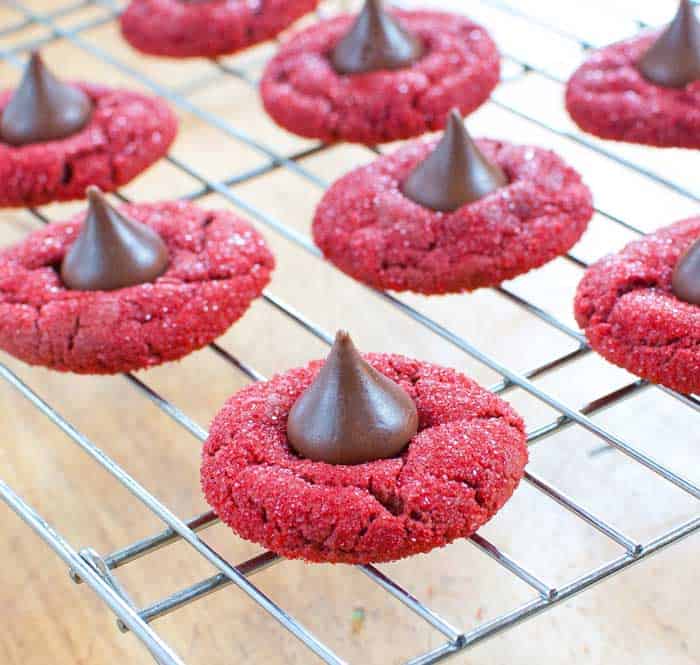
Once the baking process is over, bring them out of the oven. Place a piece of the dark chocolate kiss in the middle of each cookie. Let the cookies rest until the chocolate kisses get stuck to the dough. Make sure the cookies have a firm exterior before serving the cookies for consumption.
Conclusion
Just like that, you’ve got scrumptious pieces of red velvet blossom cookies sitting on your kitchen counter. This is a recipe that barely takes any time and can be made on very short notice. The ingredients are very common and won’t have you combing through each and every shelf in the market.
So, the next time you’re faced with a visit from a surprise guest, simply give this recipe a whirl, and you’ll have sweet treats to welcome them with in a jiffy. This recipe is very customizable. So if you need to bake a larger batch of cookies, simply increase the ingredient ratios of the recipe.